


Meet Sage, the steadfast Sentinel whose healing and support abilities are the backbone of any successful Valorant team. As you step into Sage’s role, you’ll discover the power of providing a crucial safety net for your allies, enabling them to take bold risks and execute aggressive strategies.
Sage’s toolkit not only sustains her teammates but also controls the battlefield with her defensive prowess.
Sage’s Abilities

Sage’s abilities are designed to support and protect her team, making her an indispensable asset in any match. Let’s dive into each of her abilities to understand how you can leverage them for maximum impact.
Healing Orb (E)
Healing Orb is Sage’s primary ability for sustaining her team. When you deploy Healing Orb, you can heal an ally or yourself for 60 health over a short duration.
Damage, Range, and Cooldown
| Ability | Effect | Range | Cooldown |
|---|---|---|---|
| Healing Orb | Heals 60 HP over time | 12m | 6 seconds (can be used frequently) |
Use Healing Orb to keep your teammates in the fight during intense engagements. Remember, Sage’s Healing Orb exclusively affects allies, so prioritize healing teammates who are low on health to turn the tide of battle.
Slow Orb (Q)
Slow Orb is Sage’s tool for controlling enemy movement and gathering information. When you throw a Slow Orb, it creates a field that slows enemies and makes noise when they move within it.
Damage, Range, and Cooldown
| Ability | Effect | Range | Cooldown |
|---|---|---|---|
| Slow Orb | Slows enemies and creates movement noise | 12m | 45 seconds |
Deploy Slow Orb to hinder enemy pushes, delay their advances, and reveal their positions through the noise they make. This ability is perfect for disrupting enemy strategies and providing your team with valuable intel.
Barrier Orb (C)
Barrier Orb allows Sage to create a solid wall that can block enemy vision and movement. This wall starts with 400 health and strengthens to 800 health after a 3-second delay.
Damage, Range, and Cooldown
| Ability | Health | Range | Cooldown |
|---|---|---|---|
| Barrier Orb | 400 → 800 | 6m × 5m | 45 seconds |
Use Barrier Orb to block chokepoints, create safe pathways, or elevate your teammates to higher positions. Proper wall placement can disrupt enemy advances, secure planting sites, and provide strategic advantages during both offense and defense.
Resurrection (X)
Resurrection is Sage’s ultimate ability, allowing her to bring a dead ally back to life with full health after a short delay.
Damage, Range, and Cooldown
| Ability | Effect | Range | Cooldown |
|---|---|---|---|
| Resurrection | Revives a downed ally | 25m | – |
Resurrection can completely shift the momentum of a round by bringing back a key player. Use it strategically to revive teammates in clutch situations, regain numbers, or surprise the enemy with a sudden comeback.
Barrier Orb (C) Detailed
Sage’s Barrier Orb is not just a defensive tool; it’s a versatile ability that can be used creatively to control the flow of the game. Whether you’re blocking an enemy’s line of sight, creating a safe zone for planting the Spike, or elevating a teammate to gain a tactical advantage, Barrier Orb is indispensable.
Sage’s Synergy

Sage’s abilities work seamlessly with those of her teammates, creating powerful combinations that enhance overall team performance. Here’s how Sage can synergize with other agents to dominate the battlefield:
- With Brimstone or Viper: Combine their smokes with Sage’s Barrier Orb to create impenetrable defensive setups or block enemy sightlines while you heal and support your team.
- With Sova: Use Sova’s Recon Bolt to gather intel, then follow up with Sage’s Slow Orb to trap and slow enemies, making them easy targets for your team.
- With Reyna: Coordinate Sage’s Healing Orb with Reyna’s aggressive plays to sustain her during duels, allowing Reyna to maintain her offensive momentum.
- With Jett: Use Sage’s Slow Orb to limit Jett’s mobility, making her dashes less effective and ensuring she can engage or disengage safely.
These synergies amplify Sage’s supportive capabilities, enabling your team to execute coordinated and effective strategies.
Best and Worst Maps for Sage
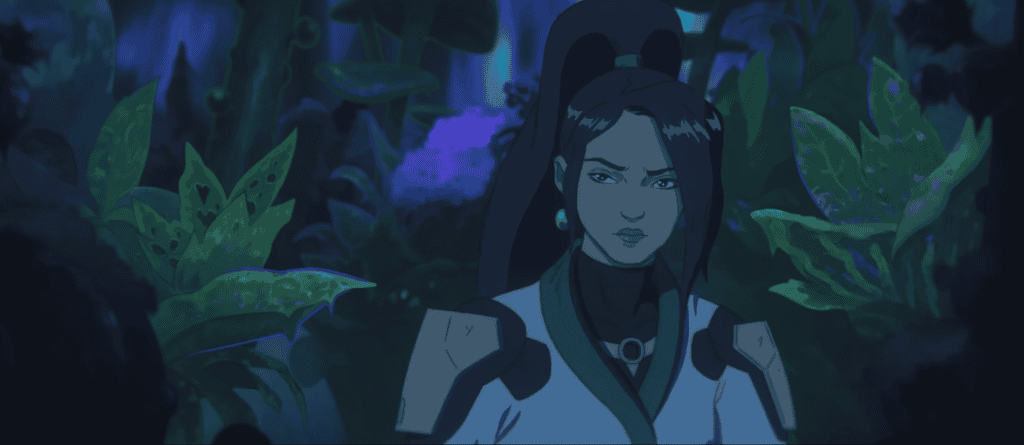
Sage’s effectiveness can vary depending on the map layout and the nature of its chokepoints and sightlines. Here’s a breakdown of the best and worst maps for Sage:
Best Maps
- Icebox: Icebox’s numerous tight chokepoints and vertical angles are perfect for Sage’s Barrier Orb and Slow Orbs. Use Barrier Orb to block key entry points and Slow Orb to control enemy movements.
- Split: Split’s compact corridors and verticality allow Sage to effectively use her abilities to control Mid and secure flanks. Barrier Orb can block enemy advances, while Slow Orb can slow down rushes.
- Haven: With multiple bomb sites and varied angles, Haven allows Sage to utilize her abilities to create safe zones, block enemy sightlines, and support multiple attack points.
Worst Maps
- Breeze: Breeze’s expansive, open spaces and long sightlines reduce the effectiveness of Sage’s Barrier Orb and Slow Orbs. Enemies have more room to maneuver and dodge her abilities.
- Ascent: While Ascent has areas where Sage can shine, its overall layout with long sightlines can make it challenging to consistently utilize her abilities effectively.
Best and Worst Weapons for Sage

Choosing the right weapon complements Sage’s supportive and defensive playstyle. Here are the best and worst weapons for Sage:
Best Weapons
- Vandal/Phantom: These rifles offer excellent accuracy and firepower, allowing Sage to hold angles and support her team effectively. The Vandal’s one-shot headshot potential makes it a reliable choice for securing kills.
- Guardian: This semi-automatic rifle rewards precise aiming, fitting Sage’s defensive role. It’s effective for holding long sightlines and providing consistent damage output.
- Spectre: The Spectre is ideal for close to medium-range engagements, allowing Sage to defend sites and support her team in tight situations.
Worst Weapons
- Classic: Compared to other pistols like the Ghost or Sheriff, the Classic lacks the power and versatility needed to support Sage’s role effectively.
- Ares/Odin: These machine guns are less versatile and harder to manage in high-level play, making them suboptimal choices for Sage.
- Frenzy: The Frenzy’s high spread and recoil make it difficult to use accurately at medium to long ranges, limiting its usefulness for Sage’s defensive strategies.
Tips and Tricks for Playing Sage Effectively

Mastering Sage requires a blend of strategic thinking, precise ability usage, and strong team communication. Here are some practical tips and tricks to help you excel as Sage:
- Prioritize Healing Teammates: Always keep an eye on your teammates’ health and prioritize using Healing Orb on those who need it most. Keeping your team alive is your primary responsibility.
- Use Barrier Orb Creatively: Don’t just block doorways. Create new angles, boost teammates to higher platforms, or cut off enemy escape routes. Creative wall placement can disrupt enemy strategies and provide your team with strategic advantages.
- Don’t Waste Slow Orbs: Use Slow Orbs strategically to hinder enemy movements and gather information. Avoid throwing them too early or in predictable locations, which can give away your position.
- Master Wall Boosts: Learn the various wall boosts available on different maps. These boosts allow you to reach unexpected angles and gain tactical advantages by elevating yourself or your teammates.
- Communicate with Your Team: Inform your team when you’re using abilities like Barrier Orb or Resurrection. Clear communication ensures your teammates can coordinate their actions effectively.
- Use Resurrection Wisely: Don’t hesitate to use Resurrection in clutch moments. Reviving a key teammate can turn the tide of a round, giving your team a numbers advantage or restoring critical firepower.
- Be Aggressive When Needed: While Sage is primarily a support agent, don’t shy away from taking controlled fights when necessary. Use your abilities to create opportunities for your team to engage the enemy.
- Optimize Wall Placement: Take the time to learn common wall placements on different maps. Properly placed walls can delay enemy pushes, secure planting sites, and provide safe zones for your team.
- Play a Mini-Controller Role: Use Barrier Orb and Slow Orb to control key areas and support your team’s movements. Acting as a secondary controller can enhance your team’s overall map control and strategic flexibility.
- Utilize Self-Heal: Don’t forget to use Healing Orb on yourself when you’re safe. Staying healthy allows you to continue supporting your team without needing to retreat.
- Adapt to the Situation: Be flexible with your ability usage based on the evolving dynamics of the match. Adapt your strategies to counter the enemy’s movements and support your team’s objectives.
Sage in Team Compositions
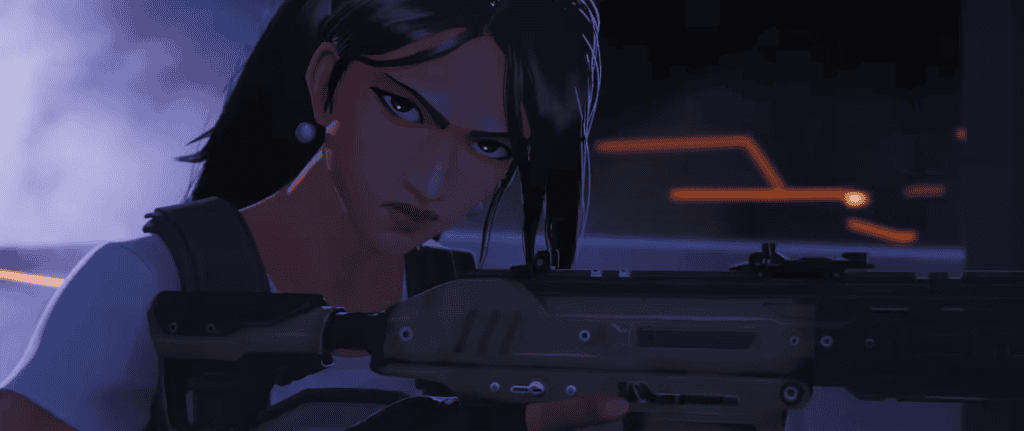
Sage excels in team compositions that prioritize defense, sustainability, and strategic control. As a Sentinel, her primary role is to support her team through healing, blocking enemy advances, and reviving fallen allies. Here’s how Sage fits into various team compositions:
- Defensive Compositions: Sage’s Barrier Orb and Slow Orb are perfect for fortifying defensive positions, controlling chokepoints, and delaying enemy pushes. Her ability to heal and revive teammates ensures sustained defense.
- Aggressive Compositions: Pair Sage with aggressive agents like Reyna or Raze. While they lead the charge, Sage provides the necessary support and healing to keep them in the fight longer.
- Balanced Compositions: In balanced team setups, Sage’s versatility shines as she can switch between defensive and supportive roles, adapting to the team’s needs and the flow of the match.
- Eco-Rounds: During eco rounds, Sage can use her Barrier Orb to block key areas and slow down enemy advances, allowing your team to save money while still maintaining some level of defense.
Strong Agent Pairings for Sage
- Brimstone: Combine Brimstone’s smokes with Sage’s Barrier Orb to create impenetrable defensive setups or block enemy sightlines while you heal and support your team.
- Sova: Use Sova’s Recon Bolt to gather intel, then follow up with Sage’s Slow Orb to trap and slow enemies, making them easy targets for your team.
- Reyna: Coordinate Sage’s Healing Orb with Reyna’s aggressive plays to sustain her during duels, allowing Reyna to maintain her offensive momentum.
- Jett: Use Sage’s Slow Orb to limit Jett’s mobility, making her dashes less effective and ensuring she can engage or disengage safely.
These pairings enhance both Sage’s and her teammates’ abilities, leading to more coordinated and effective team strategies.
Sage’s Positioning on the Map
Optimal positioning is crucial for Sage to maximize her abilities and provide effective support without overexposing herself. Here’s how to position Sage both offensively and defensively:
On Offense
- Entry Points: Position yourself near entry points to support your team’s pushes. Use Barrier Orb to block off enemy sightlines and Slow Orb to hinder enemy advances as your team moves in.
- Mid-Control: Control the middle areas with Barrier Orb and Slow Orb to delay enemy rotations and provide your team with the time needed to secure key areas.
- Roaming: Stay mobile and unpredictable. Use your abilities to support your team’s movements, heal teammates who engage in fights, and ensure you’re always in a position to provide assistance when needed.
On Defense
- Anchor Positions: Hold strategic angles where you can use Barrier Orb to block enemy advances and Slow Orb to control enemy movements. These positions allow you to effectively support your team’s defense.
- Holding Angles: Position yourself in spots where you can quickly deploy Slow Orb to slow down enemies and use Barrier Orb to block their paths, making it harder for them to push through.
- Repositioning: After using Resurrection, choose a strategic location to respawn that offers both defensive advantages and the ability to support your team’s ongoing efforts without getting caught off guard.
Common Mistakes to Avoid

Even experienced players can fall into common pitfalls when playing Sage. Here are some mistakes to watch out for and how to avoid them:
- Wasting Utility: Avoid using abilities without a clear purpose. Each ability has a strategic use, so deploy them thoughtfully to maximize their impact.
- Not Communicating with the Team: Failing to inform your team about your ability usage can lead to missed opportunities and decreased effectiveness. Always communicate your actions clearly.
- Playing Too Passively: While Sage is a support agent, don’t shy away from taking controlled fights when necessary. Use your abilities to create opportunities for your team to engage the enemy.
- Forgetting About Self-Heal: Don’t neglect Healing Orb on yourself. Keeping yourself healthy allows you to continue supporting your team effectively.
- Poor Ability Timing: Deploy abilities at the right moments to maximize their effectiveness. For example, using Slow Orb too early can leave you without utility when you need it most.
- Overextending: Avoid pushing too far without support, especially when on defense. Stay within safe zones where you can retreat if needed, ensuring you’re always available to support your team.
Sage’s Backstory
Behind Sage’s calming presence lies a rich and intriguing backstory. Sage, whose real name is Ling Ying Wei, hails from the Shaanxi province in China. She gained her supernatural abilities following the catastrophic First Light event, a global catastrophe that imbued certain individuals with extraordinary powers.
Sage’s early life remains shrouded in mystery, but her interactions and voice lines reveal a compassionate and wise individual. Her calm and nurturing nature makes her a respected leader within the Valorant Protocol, with some speculating that she is being groomed to succeed Brimstone as the organization’s leader.
Despite her serene demeanor, hints of a darker past emerge through interactions with other agents like Viper, suggesting that Sage may have made significant sacrifices or faced profound challenges during the First Light event. Additionally, Sage’s height is described as unusual for a human, hinting at possible ancient origins and adding another layer of depth to her character.
Sage’s backstory paints her as a resilient and dedicated protector, committed to using her powers to safeguard her team and maintain peace on the battlefield.
Sage Players to Watch

Observing skilled players can provide valuable insights into mastering Sage. Here are some professional players renowned for their exceptional Sage gameplay:
- Mazino: Known for his consistent performance and clutch plays with Sage, Mazino excels at using Healing Orb and Barrier Orb strategically to support his team while securing crucial kills.
- Shao: A versatile player who demonstrates proficiency with Sage, Shao effectively uses her abilities to control key areas and support aggressive teammates.
- Melser: Showcases Sage’s capabilities in high-pressure situations, effectively using Resurrection to revive teammates and turn the tide of rounds.
- Grimm: A popular streamer who mains Sage, Grimm provides insightful gameplay and educational content, offering tips on optimal ability usage and positioning.
- FlowAscend: Renowned for both basic and aggressive playstyles, FlowAscend demonstrates how Sage can adapt to various team compositions and match scenarios.
Studying these players can help you refine your own Sage tactics, adapt to different in-game situations, and elevate your overall gameplay.
Conclusion
Sage stands out as a pivotal Sentinel in Valorant, offering unparalleled support and control to her team. Her healing abilities, defensive tools, and ultimate Resurrection make her indispensable in maintaining team sustainability and strategic advantage.

