


So, you’re looking to rain fire down on your enemies and become a master of battlefield control? You’ve come to the right place. I’m here to walk you through everything you need to know about Brimstone, Valorant’s fiery, no-nonsense Controller.
Trust me, with a little practice, you’ll be locking down sites and leaving the enemy team wondering what hit them. As Agent 01, he’s a foundational character, and believe me, he’s still got it. This guide will break down his abilities, share tips, map strategies,
Brimstone’s Abilities
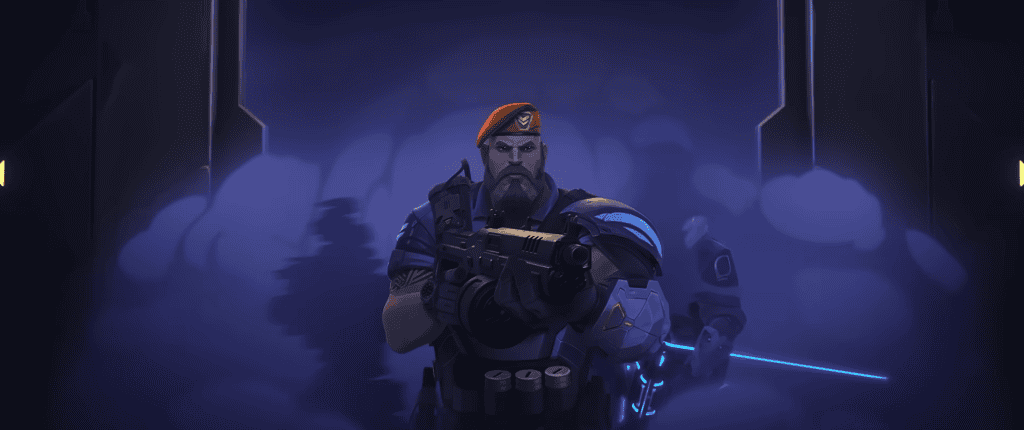
Let’s get into the good stuff – Brimstone’s arsenal. This is where he really shines. This guy’s all about controlling the map, setting up your team, and making the enemy’s life a living inferno.
He is not called the American Controller for nothing.
- Stim Beacon (C): Think of this as a portable power-up station. I toss it down, and boom – instant combat stim for anyone in its radius. We’re talking 15% faster fire rate, quicker movement, and a 10% boost to reload, equip speed, and aim recovery. It lasts 12 seconds, and the buff sticks with you for 4 seconds after you leave the field. It’s perfect for those clutch moments.
- Incendiary (Q): This is my go-to for area denial. I equip a grenade launcher and fire a fiery projectile. This isn’t your average grenade, though. It bounces off walls up to twice, making it super versatile for tricky angles. Once it lands, it creates a pool of fire that’ll make enemies think twice about pushing through.
- Sky Smoke (E – Signature Ability): Now we’re talking strategy. Brimstone’s signature ability lets me call down up to three smoke clouds. These aren’t just any smokes – they last longer than most other Controllers’, making them perfect for completely shutting down chokepoints. You have got to love when the enemy is expecting an opening, but there is no opening.
- Orbital Strike (X – Ultimate): This is the big one. When I have my ultimate charged, I can target any location on the map and call in a devastating laser strike. It’s like a giant, fiery beam of “nope” from the sky. Enemies caught in the blast take heavy damage over time.
Damage, Range, and Cooldown
Knowing how much damage Brimstone’s abilities do, and when to use them is crucial. I mean, you don’t want to be caught with your pants down, right?
It is not fun when you are about to drop the Orbital Strike, but you have to wait a couple of seconds.
- Incendiary (Q): This bad boy deals 60 damage per second. It’s got a decent range, and you only get one charge per round, so make it count. It costs 200 credits to purchase.
- Sky Smoke (E): Smokes don’t do damage, but they’re invaluable for controlling the map. You get one free smoke per round, and additional charges cost 100 credits each. The range is limited, but it’s enough to cover most chokepoints. Remember, I can deploy up to three at once.
- Orbital Strike (X): My ultimate does 25 damage every 0.25 seconds at the center. The damage decreases the further you are from the epicenter. The best part? It’s got a global range. I can unleash it anywhere on the map, and it only costs 6 ultimate points.
People often say Brimstone’s abilities aren’t reusable and have longer cooldowns. That’s true, but think of it this way: they’re so powerful that they don’t need to be spammed.
Brimstone’s Synergy: How His Abilities Interact with Others
Here’s where teamwork makes the dream work. Brimstone’s abilities can be combined with other agents’ for some truly devastating plays.
I’ve seen some crazy combos in my time.
- Viper’s Toxic Screen and Poison Cloud: Imagine this: Viper throws up her Toxic Screen, and I drop my smokes on top of it. Enemies can’t see a thing, and they’re taking damage. It’s almost unfair.
- Killjoy’s Nanoswarms: I love using my smokes to hide Killjoy’s Nanoswarms. Enemies walk into the smoke, thinking they’re safe, and bam – they’re hit with a swarm of nanobots.
- Sage’s Slow Orbs: Combine my Incendiary with Sage’s Slow Orbs, and you’ve got a deadly combo. Enemies are slowed and taking fire damage – they won’t know what hit them.
- Phoenix’s Hot Hands: Throwing my Incendiary down and having Phoenix toss his Hot Hands creates a huge area of denial. Enemies will have to choose between taking massive damage or finding another route.
- Boosting Ally Pushes: I always make sure to have a Stim Beacon ready when my team is pushing. That extra firepower and speed can make all the difference in a firefight.
- Enabling Phoenix’s Ultimate: When Phoenix uses his Run It Back, I like to drop smokes to give him cover. He can push aggressively without worrying about getting eliminated.
Best and Worst Maps for Brimstone
Let’s be real, some maps are just better suited for Brimstone than others. I’ve learned this the hard way.
Best Maps:
- Bind: Bind is like Brimstone’s playground. The tight corridors and easily controlled chokepoints are perfect for my smokes and Incendiary. My three Sky Smokes are often all you need to execute on A site, and my Orbital Strike can clear out tight spaces or deny enemy pushes. When attacking A site, I usually smoke off Heaven and U-Hall to give my team a safe path to the plant. It’s just a great feeling.
- Haven: With three bomb sites, Haven offers tons of opportunities to use my smokes and Incendiary. The fast rotations also make me a solid pick here.
- Fracture: Fracture’s small size and close-quarters combat are perfect for Brimstone. My smokes can quickly cover key chokepoints, and my Incendiary is great for flushing enemies out of tight spaces.
Worst Maps:
- Breeze: Breeze is tough for me. The long sightlines and open spaces make it hard to use my smokes effectively since they have a limited range.
- Pearl: Similar to Breeze, Pearl’s long corridors and open areas can be challenging. My smokes might not be as effective at covering all the angles.
Best and Worst Weapons for Brimstone
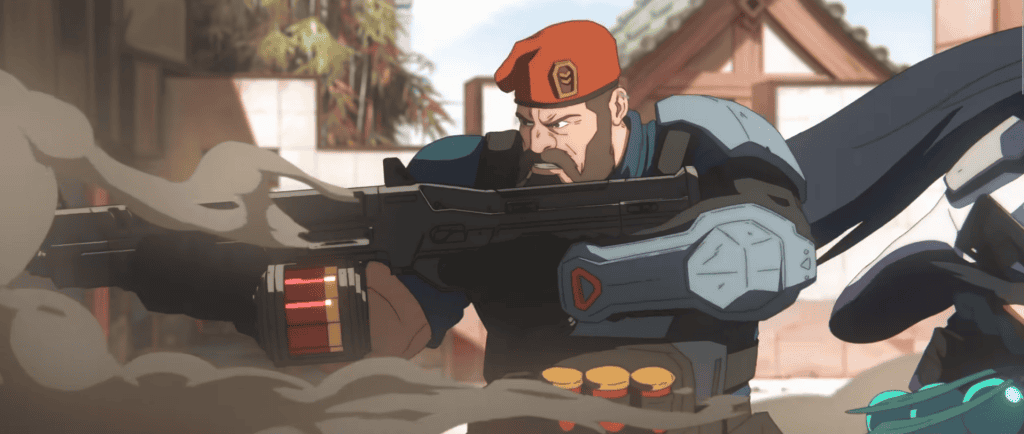
Choosing the right weapon is crucial. As a Controller, I need something reliable for holding angles and supporting my team.
Best Weapons:
- Vandal and Phantom: These are my go-to rifles. They offer a great balance of damage and accuracy, whether I’m engaging at long range or in close quarters.
- Operator: While not my primary weapon, the Operator can be a beast in my hands. It allows me to hold long angles and pick off enemies from a distance.
Worst Weapons:
- Frenzy: The Frenzy is cheap, but its high spread and recoil make it less effective for my playstyle. I need something more precise.
- Ares and Odin: These machine guns are powerful, but they’re also clunky. They slow me down and make it harder for me to reposition quickly.
Tips and Tricks for Playing Brimstone Effectively
Alright, here’s where I share some of the wisdom I’ve picked up over countless hours playing Brimstone.
- Coordinate with your team: This is huge. Always communicate with your team about where you’re placing smokes and when you’re using your abilities. Teamwork is key.
- Save a smoke for post-plant: Don’t blow all your smokes during the initial push. I always save at least one for after we’ve planted the spike. It can delay enemy defuses or provide cover for my team.
- Time your resmokes: My smokes last for 19.25 seconds. I always keep track of the time and redeploy them to maintain continuous cover. This can be incredibly frustrating for the enemy team.
- Use your Incendiary strategically: I use my Incendiary to deny enemy pushes, flush enemies out of cover, or create space for my team. Combining it with other abilities, like Sage’s Slow Orbs, is super effective.
- Master Orbital Strike placement: Aim your Orbital Strike at chokepoints, common hiding spots, or to deny enemy plants or defuses. Remember, the damage is highest at the center of the strike.
- Stim Beacon for Offense and Defense: While Stim Beacon is great for boosting ally pushes, I also use it aggressively during retakes. That extra firepower can be a game-changer in close-quarters combat.
Brimstone in Team Compositions

Brimstone is a team player. He excels at setting up his teammates, especially during eco rounds where his utility can maximize team efficiency. Here are a few of my favorite agent combinations:
- Brimstone + Phoenix: This combo is fire, literally. I control the area, and Phoenix brings the aggression.
- Brimstone + Jett: My smokes create opportunities for Jett to use her abilities to get into advantageous positions.
- Brimstone + Sova: Sova’s Recon Bolt can be used to gather information behind my smokes, allowing for coordinated pushes.
Brimstone’s Positioning on the Map
Positioning is everything. On offense, I stay relatively close to my team to ensure my smokes can cover the desired areas. On defense, I position myself centrally to cover as much territory as possible.
Common Mistakes to Avoid
I’ve made my fair share of mistakes, and I’m here to help you avoid them.
- Wasting smokes on fakes: Don’t waste your smokes on early fakes. Coordinate with your team to create diversions and use your smokes effectively.
- Overusing smokes: Sometimes, two smokes are enough to secure a site. Save one for post-plant situations.
- Ignoring sound cues: Pay attention to enemy footsteps and abilities. Sound cues can give you valuable information.
- Overcommitting to gunfights: Don’t engage in unfavorable gunfights. If you’re outnumbered or outgunned, it’s okay to back off and regroup.
Brimstone’s Backstory
Brimstone, or Liam Byrne, is more than just a Controller – he’s a character with a rich history. He’s a Native American veteran soldier from the United States, known for his no-nonsense attitude. He is the oldest agent in the Protocol, Agent 01, one of its founders, and a father figure to the other agents, especially Killjoy. Fun fact: Killjoy designed the bracer Brimstone uses to deploy his abilities.
Before joining the VALORANT Protocol, Brimstone worked with Kingdom and served in the military alongside his childhood friend, Tariq Porter, who unfortunately lost his life in battle. Despite his experience, he’s a bit technologically impaired, which often leads to funny interactions with the tech-savvy Killjoy.
Brimstone Players to Watch
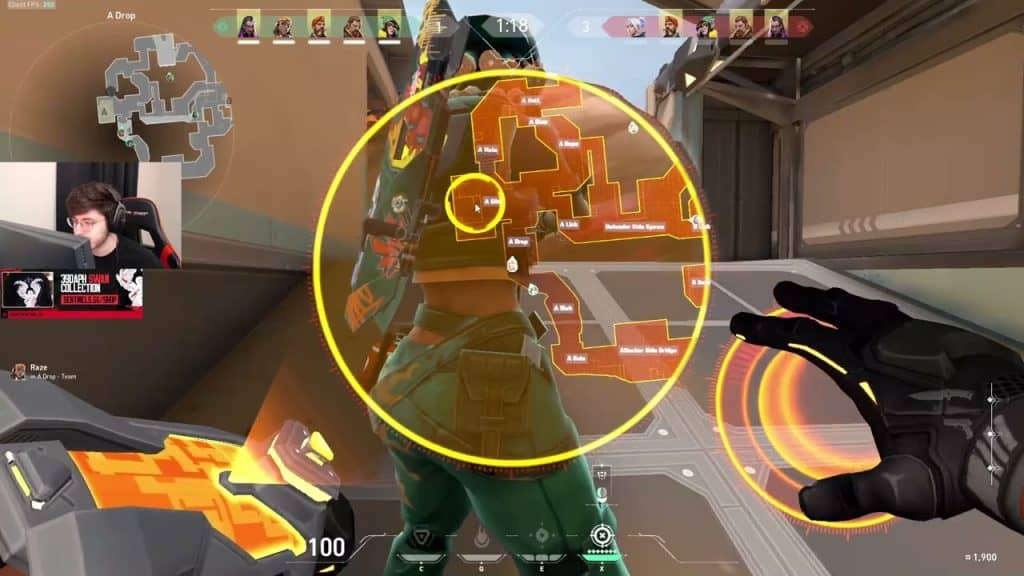
One of the best ways to improve is to watch the pros. Here are a few Brimstone players I always keep an eye on:
- Zombs (Sentinels): Known for his exceptional game sense and precise smoke placement.
- Subroza (TSM): A versatile player with a deep understanding of Brimstone’s kit.
- Hiko (100 Thieves): An aggressive player who utilizes Brimstone’s abilities to create opportunities.
- Barce (ZETA DIVISION): A master of Brimstone’s smokes and ultimate, known for his clutch plays.
- JonahP (The Guard): A rising star who demonstrates Brimstone’s effectiveness in competitive play.
You can find gameplay footage of these players on YouTube and Twitch. Study their strategies and decision-making – it’s a great way to learn.
Conclusion
Brimstone is a powerhouse. He’s a true team player, excelling at supporting his allies. While he might not have the flashiest abilities, his strengths lie in his reliability and consistency. His smokes provide long-lasting cover, his Incendiary can be used creatively, and his Orbital Strike is a game-changer.
In the current meta, Brimstone remains a strong pick on maps like Bind, Haven, and Fracture. However, on maps with long sightlines and open spaces, like Breeze and Pearl, he might be outshined by Controllers with more global abilities.

