


Get ready to master Skye, Valorant’s Aussie Initiator who excels at gathering intel, creating opportunities, and keeping your team in the fight. Don’t be fooled by her straightforward kit—Skye has plenty of high-level tricks that can completely shut down the enemy.
Let’s break down her abilities, explore advanced tactics, and learn how to dominate with this nature-wielding powerhouse.
Skye’s Abilities
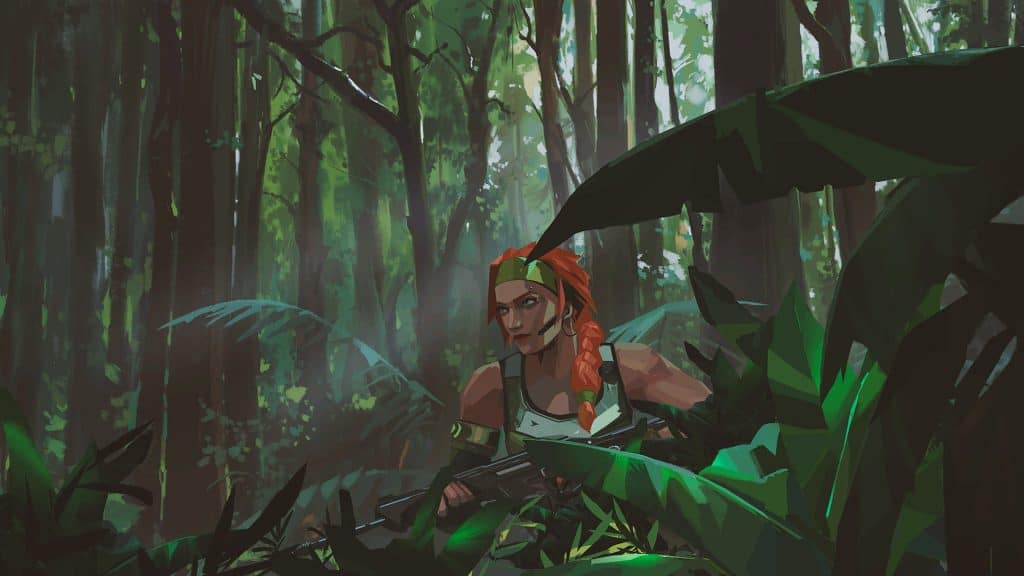
Skye’s kit revolves around scouting, flashing, and healing—perfect for players who want to lead the charge and set up their teammates. Here’s a quick overview of each tool in her arsenal:
| Ability | Effect | Key Details |
|---|---|---|
| Regrowth (C) | Channel a heal for nearby allies in line of sight. Skye can’t heal herself. | Cost: 100 credits Healing Pool: Depletes over time; can heal multiple allies Tip: Heal when you’re safe to avoid getting caught mid-channel |
| Trailblazer (Q) | Send out a Tasmanian tiger that you can control. Leap forward to damage and concuss enemies. | Cost: 250 credits Damage: Moderate on direct hit Tip: Break angles quickly to gather intel before enemies can destroy it |
| Guiding Light (E) | Deploy a hawk that you can steer. Detonate it to blind enemies. | Cost: 250 credits per charge Max Charges: 2 or 3 (depending on economy) Tip: Can be shot down, so use creative trajectories or “fast flash” curves |
| Seekers (X) | Send out three Seekers to track down the nearest enemies. If a Seeker reaches its target, it nearsights them. | Ultimate Cost: 7 points Tip: Use mid-round or in retakes to pinpoint enemy locations and secure map control |
Advanced Ability Usage
Regrowth
You can heal multiple teammates at once, so choose moments when the team is grouped after a fight. Don’t heal in the open—duck behind cover, get your heal off, then jump back into the fray.
If your team is on a roll, your Regrowth can keep them healthy for sustained pushes.
Trailblazer
Think of your Tasmanian tiger as a mini-drone that can also stun and damage. Aggressively weave the tiger around corners to displace enemies or to check cheeky off-angles.
On defense, try sending Trailblazer up elevated spots (like ramps or boxes) to scout from higher ground. If you catch someone off-guard, leap onto them for a quick kill or to force them out of position.
Guiding Light
Skye’s flashes come with a unique advantage: you hear a distinct call when you blind an enemy. Use this audio cue to decide whether to push or fall back. Get creative with “wall-riding” your flash—aim the hawk at a wall and curve it around corners for unpredictable pop timings.
Fake flashes are also powerful at higher ranks: send the hawk out, pause, and let enemies turn away before detonating. Then, peek while they’re looking the wrong way.
Seekers
While Seekers are often used in retakes, you can also pop them aggressively if your team is ready to follow up. The earlier you know enemy positions, the sooner you can collapse on them.
Seekers can force enemies to waste ammo destroying them, or to retreat from angles you need to take.
In clutch scenarios, don’t be afraid to use Seekers in a 1v1 or 1v2. Information is often the deciding factor in those tight rounds.
Best Maps for Skye
Bind
Tight angles in Hookah, Showers, and U-Haul give your Trailblazer and flashes huge value. You can also send your hawk through teleporters for tricky flash setups that enemies rarely expect.
Haven
Three sites mean constant rotations, and that’s where Skye’s intel-gathering shines. Clear Garage or Long with Trailblazer, then flash a different lane to keep defenders pinned. Her healing is perfect if your team takes chip damage during these multi-lane fights.
Ascent
Wide-open mid, corridors at A Main, and B Main are prime areas for Skye’s flash curves. You can flush out hidden defenders behind double-stacks or near Market, then push in with your team while they’re blind.
Worst Maps for Skye
Breeze
Long sightlines make it easy for enemies to destroy your hawk or dog before they have much impact. You’ll need to practice advanced flash angles to avoid having your utility shot down from a distance.
Icebox
Verticality can hamper your utility. Enemies can be above or below your flashes, and your Trailblazer’s vision might be limited. You’re still useful, but you’ll have to work harder to land that perfect flash on elevated angles.
Best and Worst Weapons for Skye
Best Weapons
- Phantom/Vandal: You’ll be flashing a lot, so you want a rifle that can secure quick kills.
- Spectre: Great for close-to-mid range, especially if you’re aggressively following your flashes.
- Shorty (Situational): After a point-blank flash or dog stun, the Shorty can quickly finish off blinded or concussed enemies at extremely close range.
Worst Weapons
- Operator: While you can flash for yourself, you’re more valuable up front with your team, not holding distant angles.
- Ares/Odin: Mobility and quick peeks are key to Skye’s playstyle, so these heavy machine guns can slow you down too much.
- Classic (Default): As with most Valorant agents, you’ll want a better pistol (Ghost or Sheriff) for that first-round advantage.
Tips and Tricks for High-Level Skye Play
- Fast Flashing: Aim to curve your hawk around a corner fast and pop it almost instantly. This gives enemies almost no time to react or shoot it down.
- Wall Riding: Hug your flash along the edge of walls to execute sharp turns. Ideal for hidden entry ways like Ascent’s Pizza corner or Split’s Mail area.
- Delayed Pop: Send the hawk, wait for enemies to look away, then detonate. Works wonders if you’ve conditioned enemies to expect immediate flashes.
- Tiger + Flash Combo: Immediately follow your dog with a flash. If the dog concusses someone, the flash often seals their fate.
- Seekers in 1vX: Don’t save your ult for the perfect 5v5. In a clutch, Seekers give you vital info on the enemy’s whereabouts. Information is everything when you’re alone.
- Heal Between Fights: Timing is everything. Heal right after a brawl if you’re in a safe spot—keeping your team at high HP can be decisive in long rounds.
Skye’s Synergy
- Jett/Raze: They thrive off the chaos Skye creates. After you blind or dog-stun opponents, Jett or Raze can dash or satchel in for easy kills.
- Viper: Combining your flashes with a well-placed Toxic Screen can disorient enemies who think they’re safe behind the wall.
- Killjoy: Once your flashes confirm where enemies are (or aren’t), Killjoy can reposition her turret and Nanoswarms perfectly.
- Breach: Double the disruption. Alternate his Fault Line and Aftershock with your dog or flashes to leave enemies nowhere to hide.
Common Mistakes to Avoid
- Predictable Flash Angles: If you’re always flashing the same corner, enemies will pre-aim and destroy it. Mix up your angles and timing.
- Overhealing Mid-Fight: Regrowth is powerful, but don’t get tunnel vision. If you try to heal during a fierce gunfight, you risk getting taken out easily.
- Not Following Up: Skye’s utility is wasted if nobody capitalizes on it. Whether it’s you or a teammate, push while enemies are flashed or concussed.
- Ignoring Audio Cue: Guiding Light gives a call if it blinds someone. If you hear it, consider swinging immediately or relaying info to teammates for an easy frag.
Skye’s Backstory
Hailing from rural Australia, Skye (real name unknown) has a deep bond with nature and a fierce drive to protect it. Her abilities—channeling animal spirits to scout, blind, and heal—reflect her passion for wildlife. She joined the Valorant Protocol to fight back against global threats and restore balance to the land.
Her upbeat, can-do attitude often rallies her teammates, and her lore emphasizes a pack-mentality where every ally matters in the fight.
Skye Players to Watch

- Leo (Fnatic): Widely recognized for his consistent, top-tier Skye plays, with perfect flashes and remarkable game sense.
- Ethan (Evil Geniuses): Known for seamlessly chaining flashes with gunfights, ensuring enemies rarely get a clean peek.
- d4v41 (Paper Rex): Aggressive Skye specialist who loves to push the tempo and surprise enemies with fast flashes.
- nobody (EDward Gaming): Brings unpredictable angles and timing to Skye’s kit, catching pro-level opponents off guard.
- Subroza (Sentinels): Showcases versatile Skye gameplay, from hyper-aggressive pushes to calculated retakes.
Conclusion
Skye may seem beginner-friendly, but at a high level, she offers a deep well of flashy (pun intended) plays. Her kit balances intel-gathering, aggressive entry potential, and team support like no other Initiator.
Stay unpredictable with your flashes, chain your Trailblazer and Seekers for constant info, and never forget to keep allies topped up with Regrowth.
The more you mix up your tactics, the more you’ll shine as the Aussie agent who can do it all.

